

DIY Teardrop Trailer Chassis
Let’s talk trailer frames + chassis.
Your frame is the foundation of your teardrop build. There are three main options for a trailer chassis:
A) Weld it (or purchase a welded frame)
B) Ironton from Northern Tool (or something similar)
C) Find a used trailer
Weld it
This allows you to get EXACTLY what you want. Whether you weld it yourself, or have a professional do it for you, this is a great option!
We had our first chassis welded locally and were able to give specific dimensions, making later steps in the build easier (like attaching the floor) and making sure our weight distribution was on point.
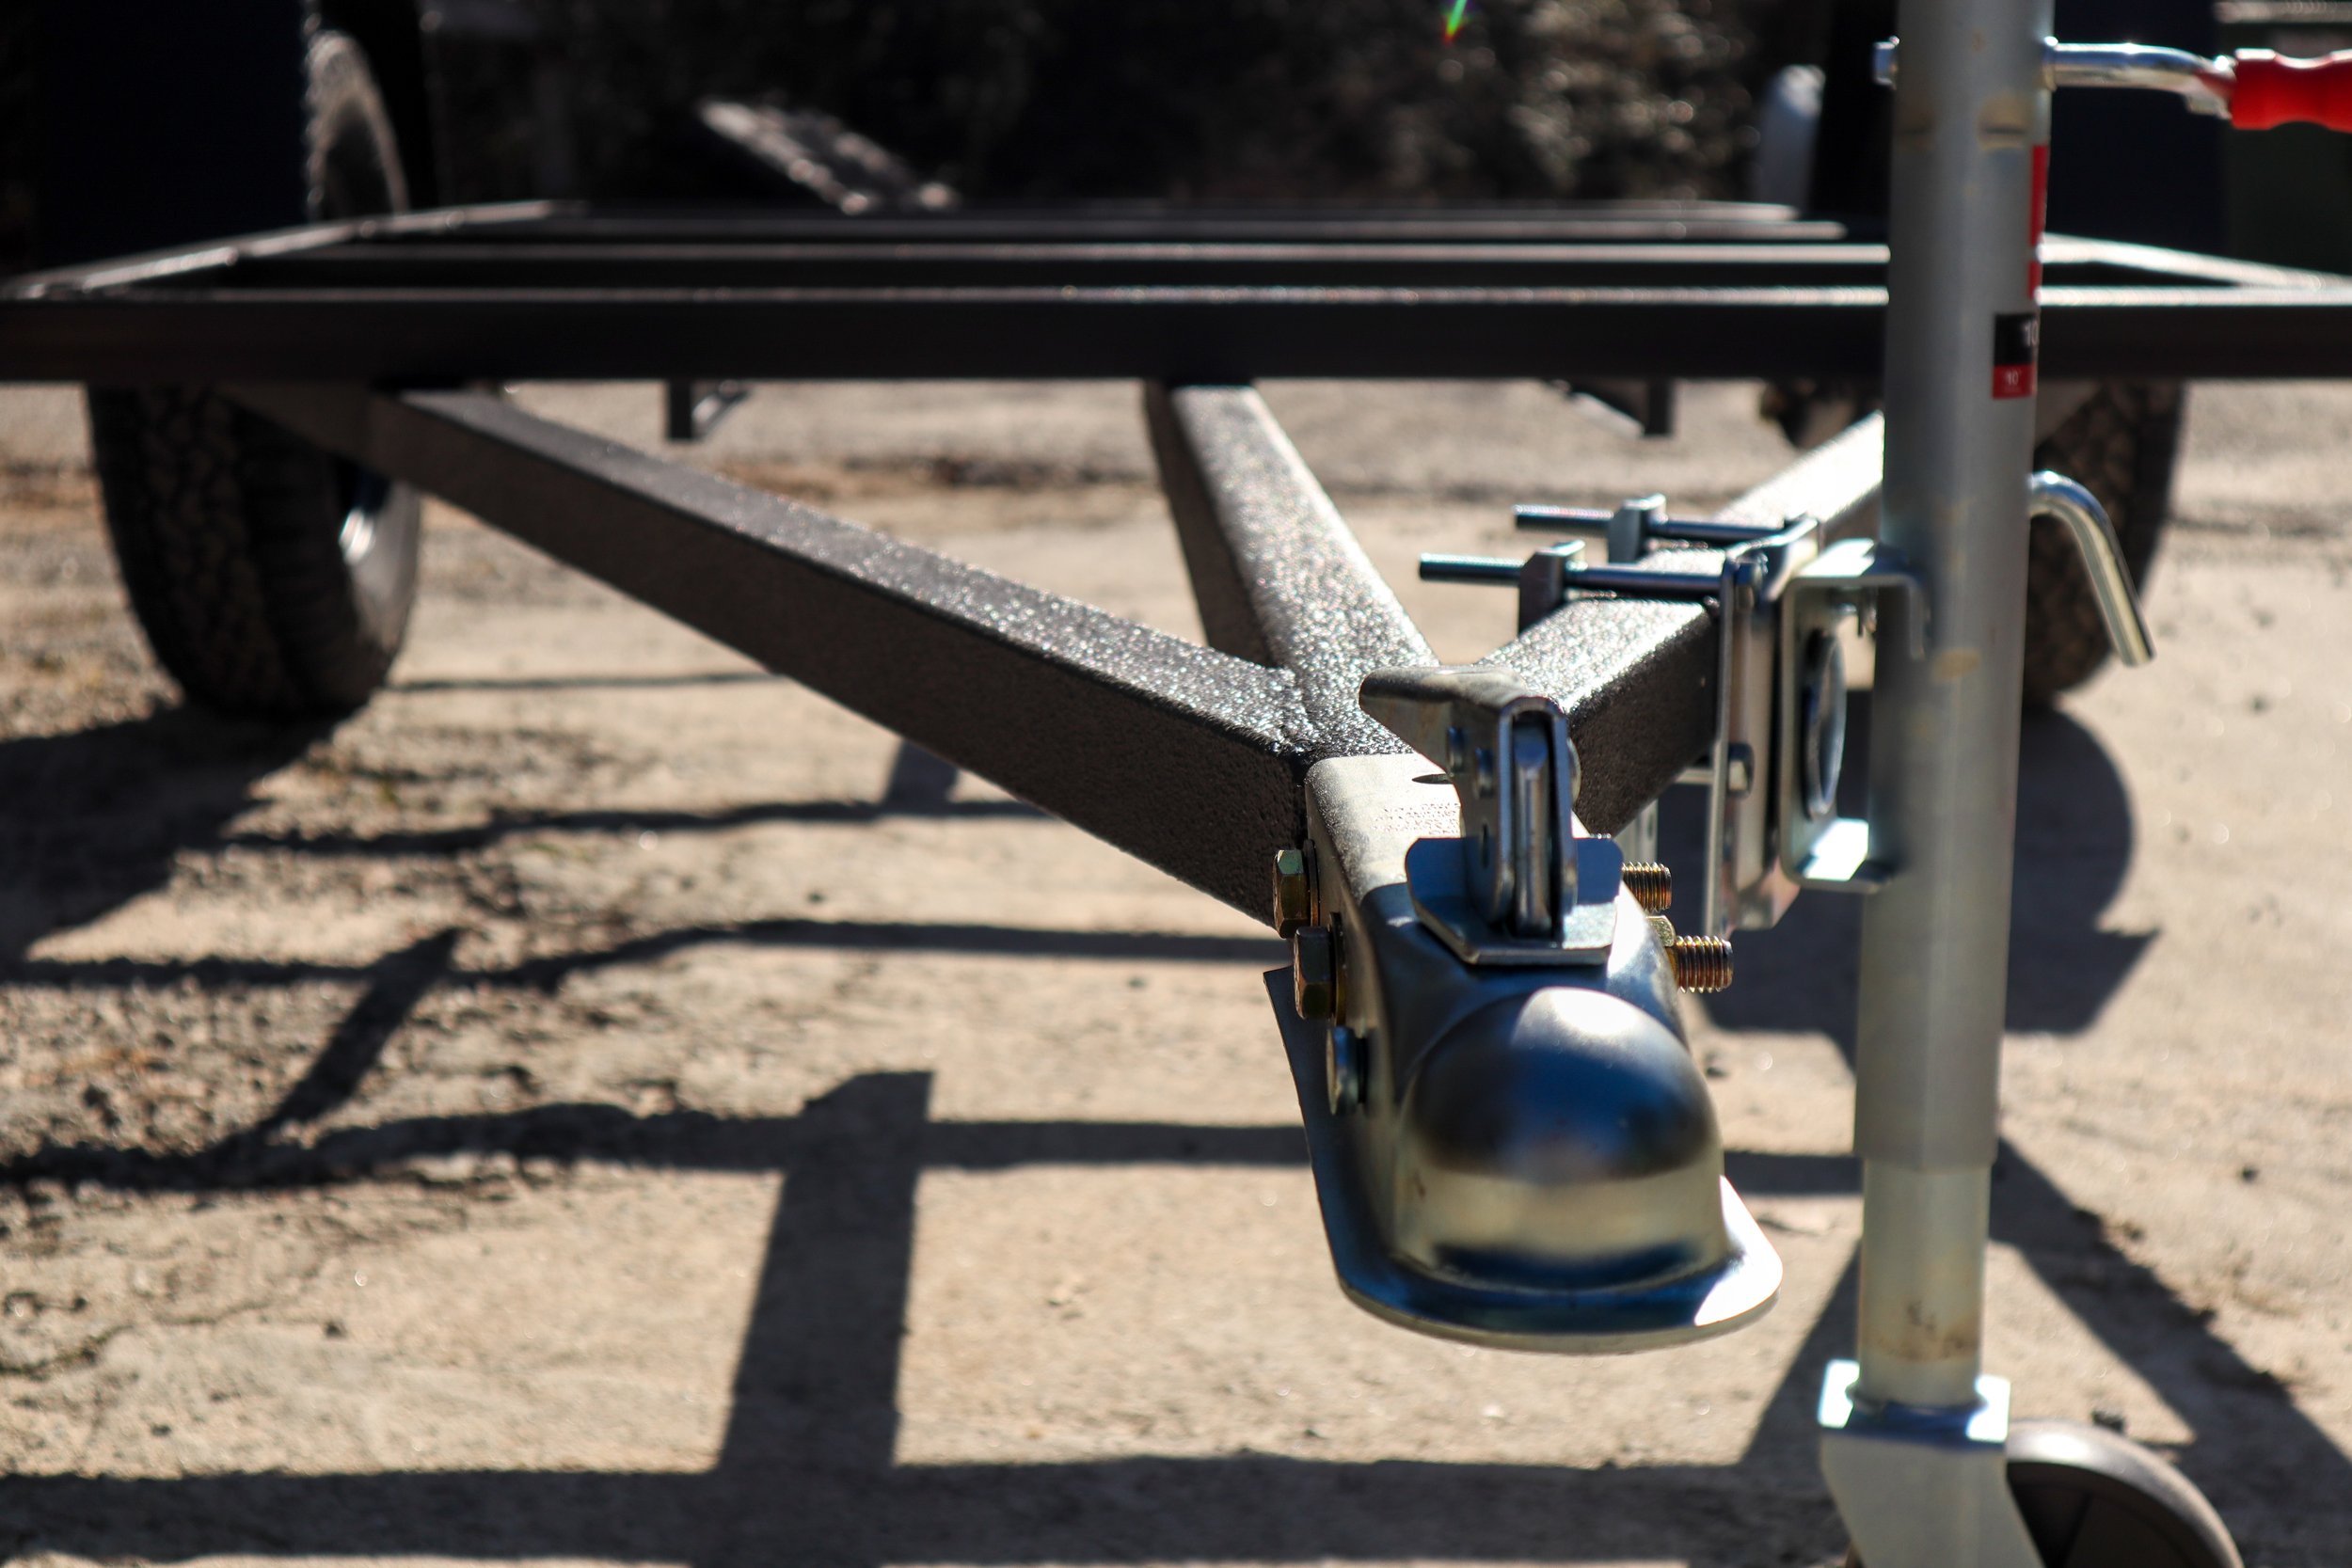
We now weld our own frames using 2”x2” 11 gauge (.120) tubing. You can find the specific schematics for our frames in our DIY Vaga and Renegade Plans.
After more and more DIYers reached out to us asking to purchase a trailer frame for their builds, we now supply DIYers with just that! You can check out the options and customizations here.
Ironton
For the Renegade we decided to use the Ironton 5x8 trailer frame from Northern Tool. It is lightweight, simple to put together, and budget friendly ($619.99USD).
We are extremely impressed by the off-road ability of this thing! Paige’s sister and her fiancé took it across the US on just about every terrain, including some rock crawling in Utah.
However, there were a few modifications we made to make it work for a teardrop design:
1. Move the axle aft 4-7 inches. Since the galley carries most of the weight its necessary to move the axle back and drill new holes for the axle hangers. Skipping this step will cause the tongue weight will be nearly zero. This is a bad thing. You want about 10% of the weight to be on the tongue.
2. Welding crucial joints in the chassis, opposed to only using bolts. This step is not necessary if you do not have access to a welder but will add some durability.
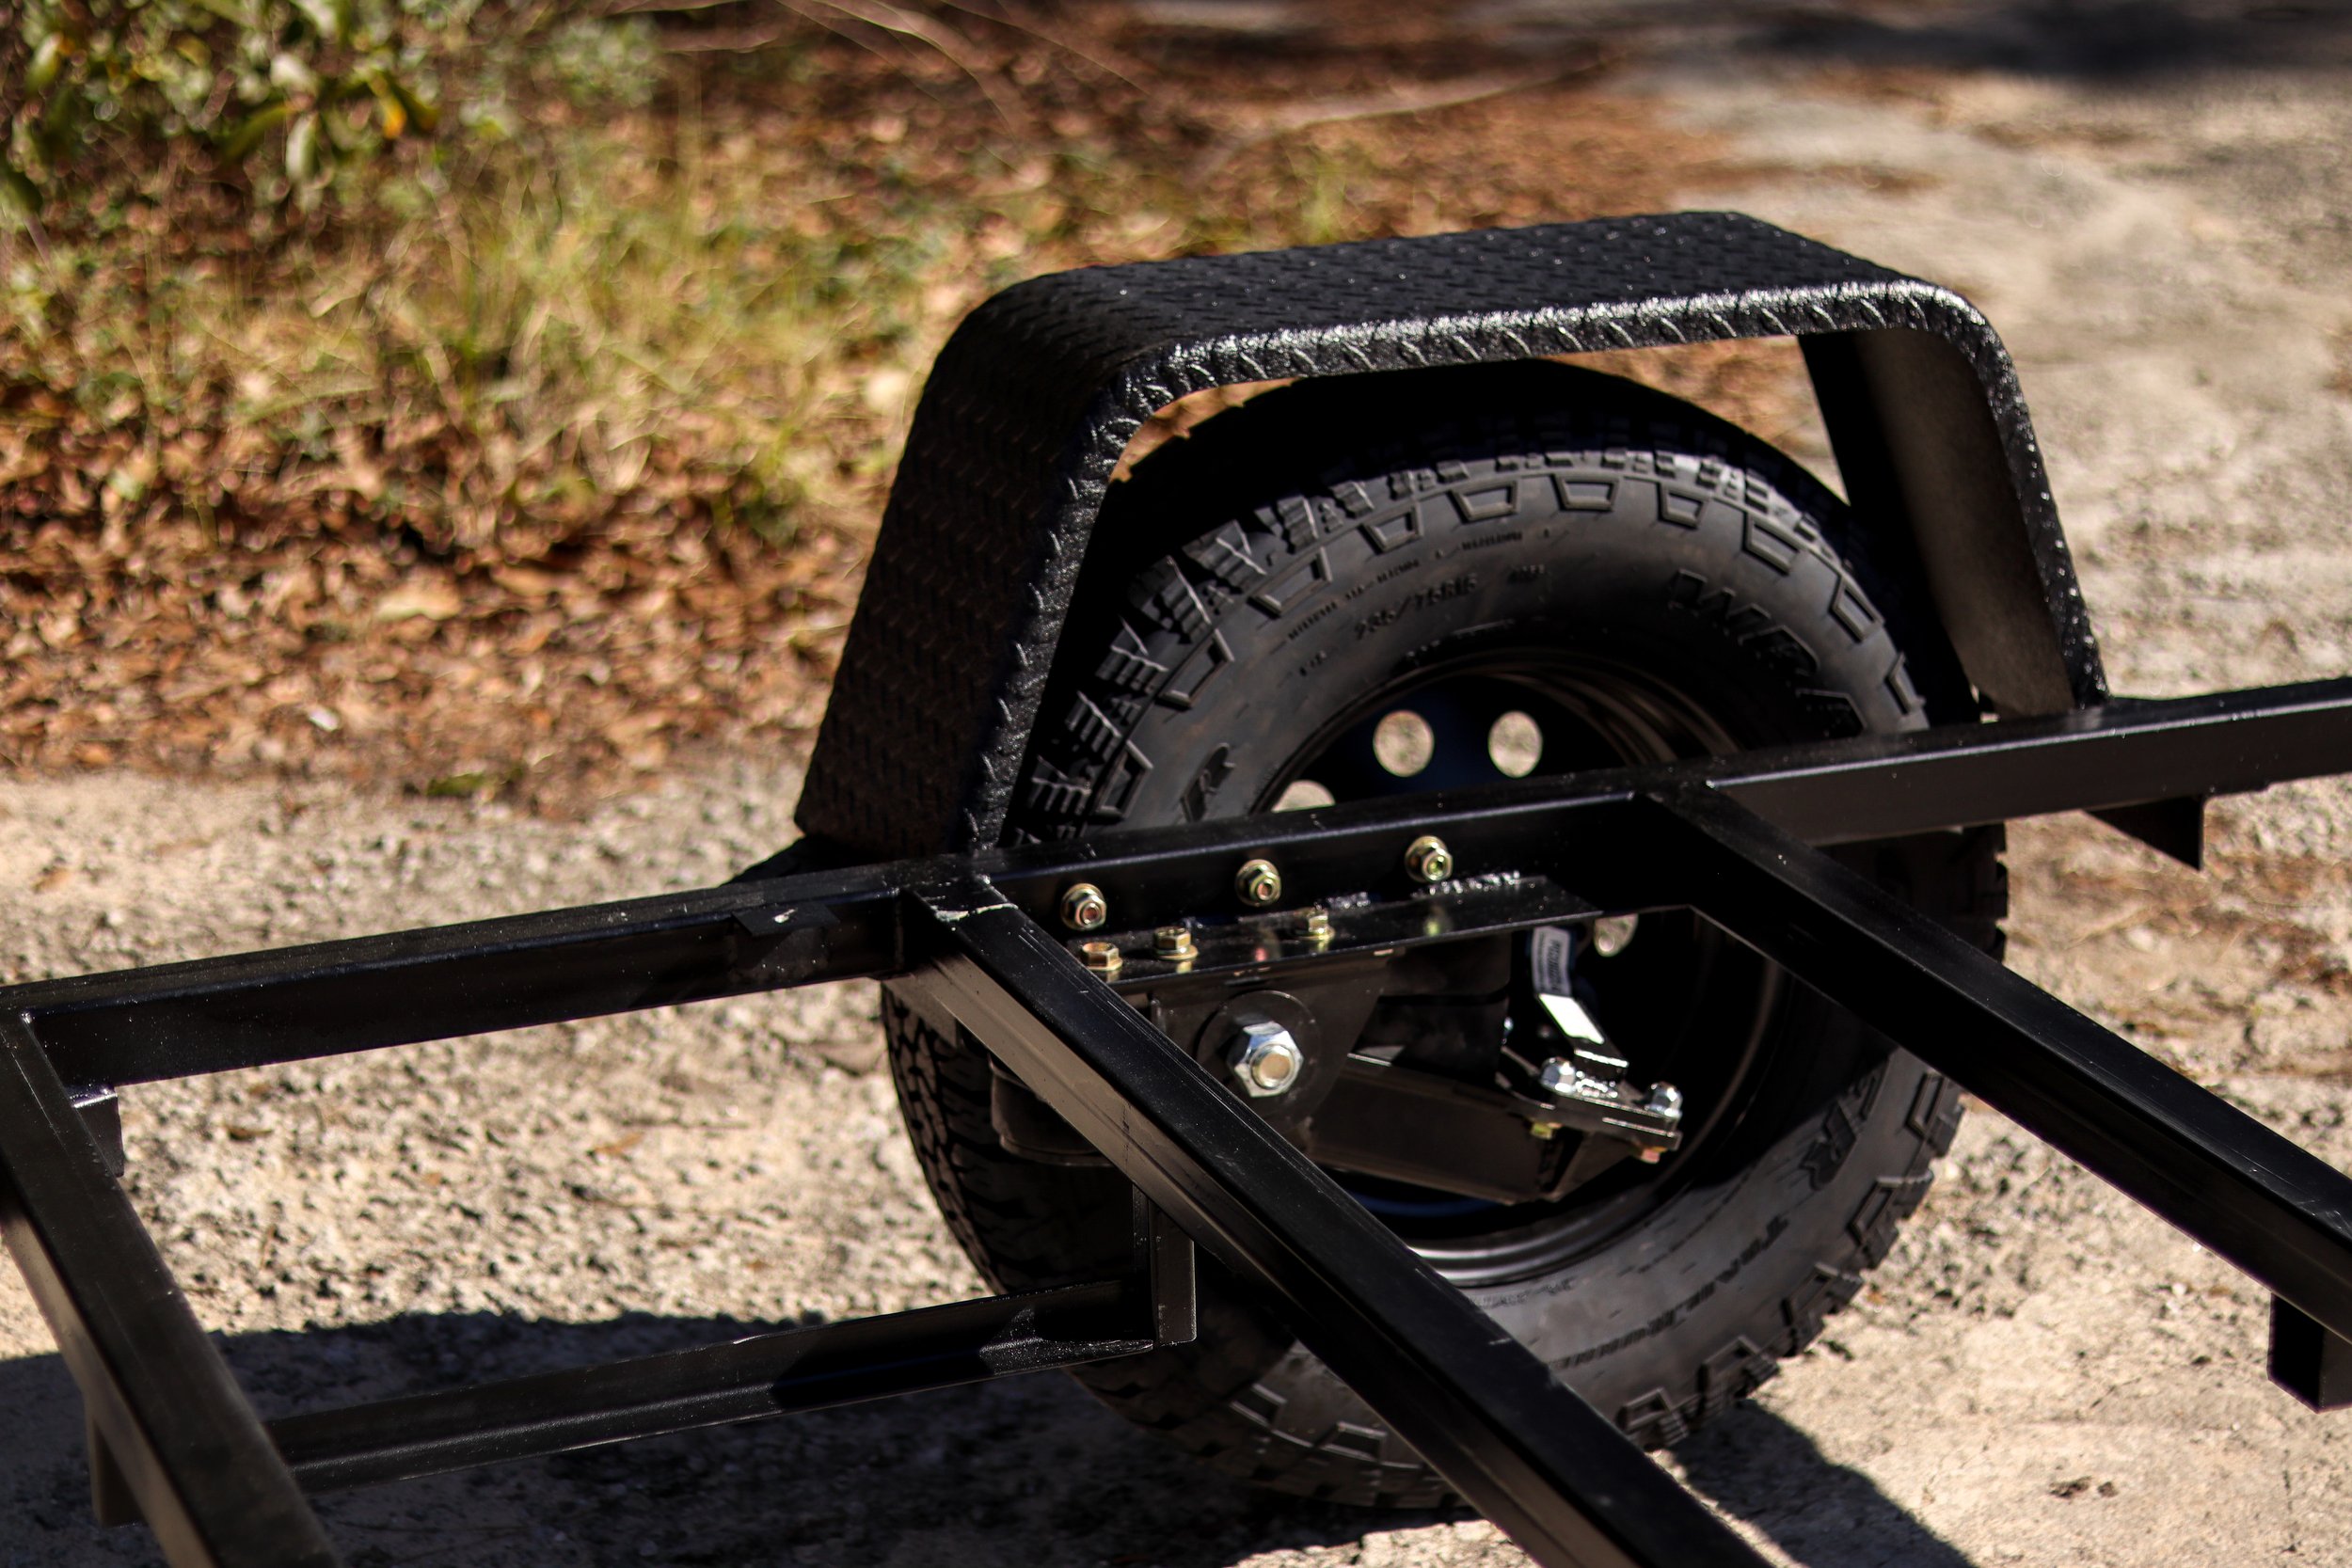
3. Swapping 12” wheels for 15” wheels. You will need to add 2” spacers to the hubs. We highly recommend this. It will tow better, look better, and be more functional on the backroads. And let’s be honest, if you don’t plan on taking this on some dusty backroads, what’s the point?
Used Trailer
A popular place to find an affordable chassis to build upon is Facebook marketplace, or similar online forum.
You may be able to find an Ironton trailer frame at a great discount as well.
Be sure to inspect it thoroughly. You need to be comfortable with the condition of any used trailer frame, and if it needs repairs, you need to be able to do the work.
If you go this route you may run into issues with the axle location. Just like with the Ironton, standard axles will be located 60% of the way back on the trailer frame. 60% x 96” equals 57.6”. We recommend placing the axle at 60-62” from the front.
Avoiding this step may make the trailer unstable while driving. Look up “imbalanced trailer” to see what we mean. You may get around it by adding extra weight to the tongue with a tongue box.
So, which option will you go with?
Purchase a trailer frame for your DIY Teardrop from Wander Tears.
For trailer frame schematics and more teardrop build details, shop our DIY Plans.
“Use the weekend to build the life you want, not trying to escape the life you have.”