

DIY Feature - Dave McWilliam
After spending years traveling and camping on a BMW motorcycle, Dave wanted a change. Although he thought the motorcycle trips were fun and exhilarating, the risk and limitations of motorcycle camping led him to search for an alternative. That’s when he found teardrop trailers.
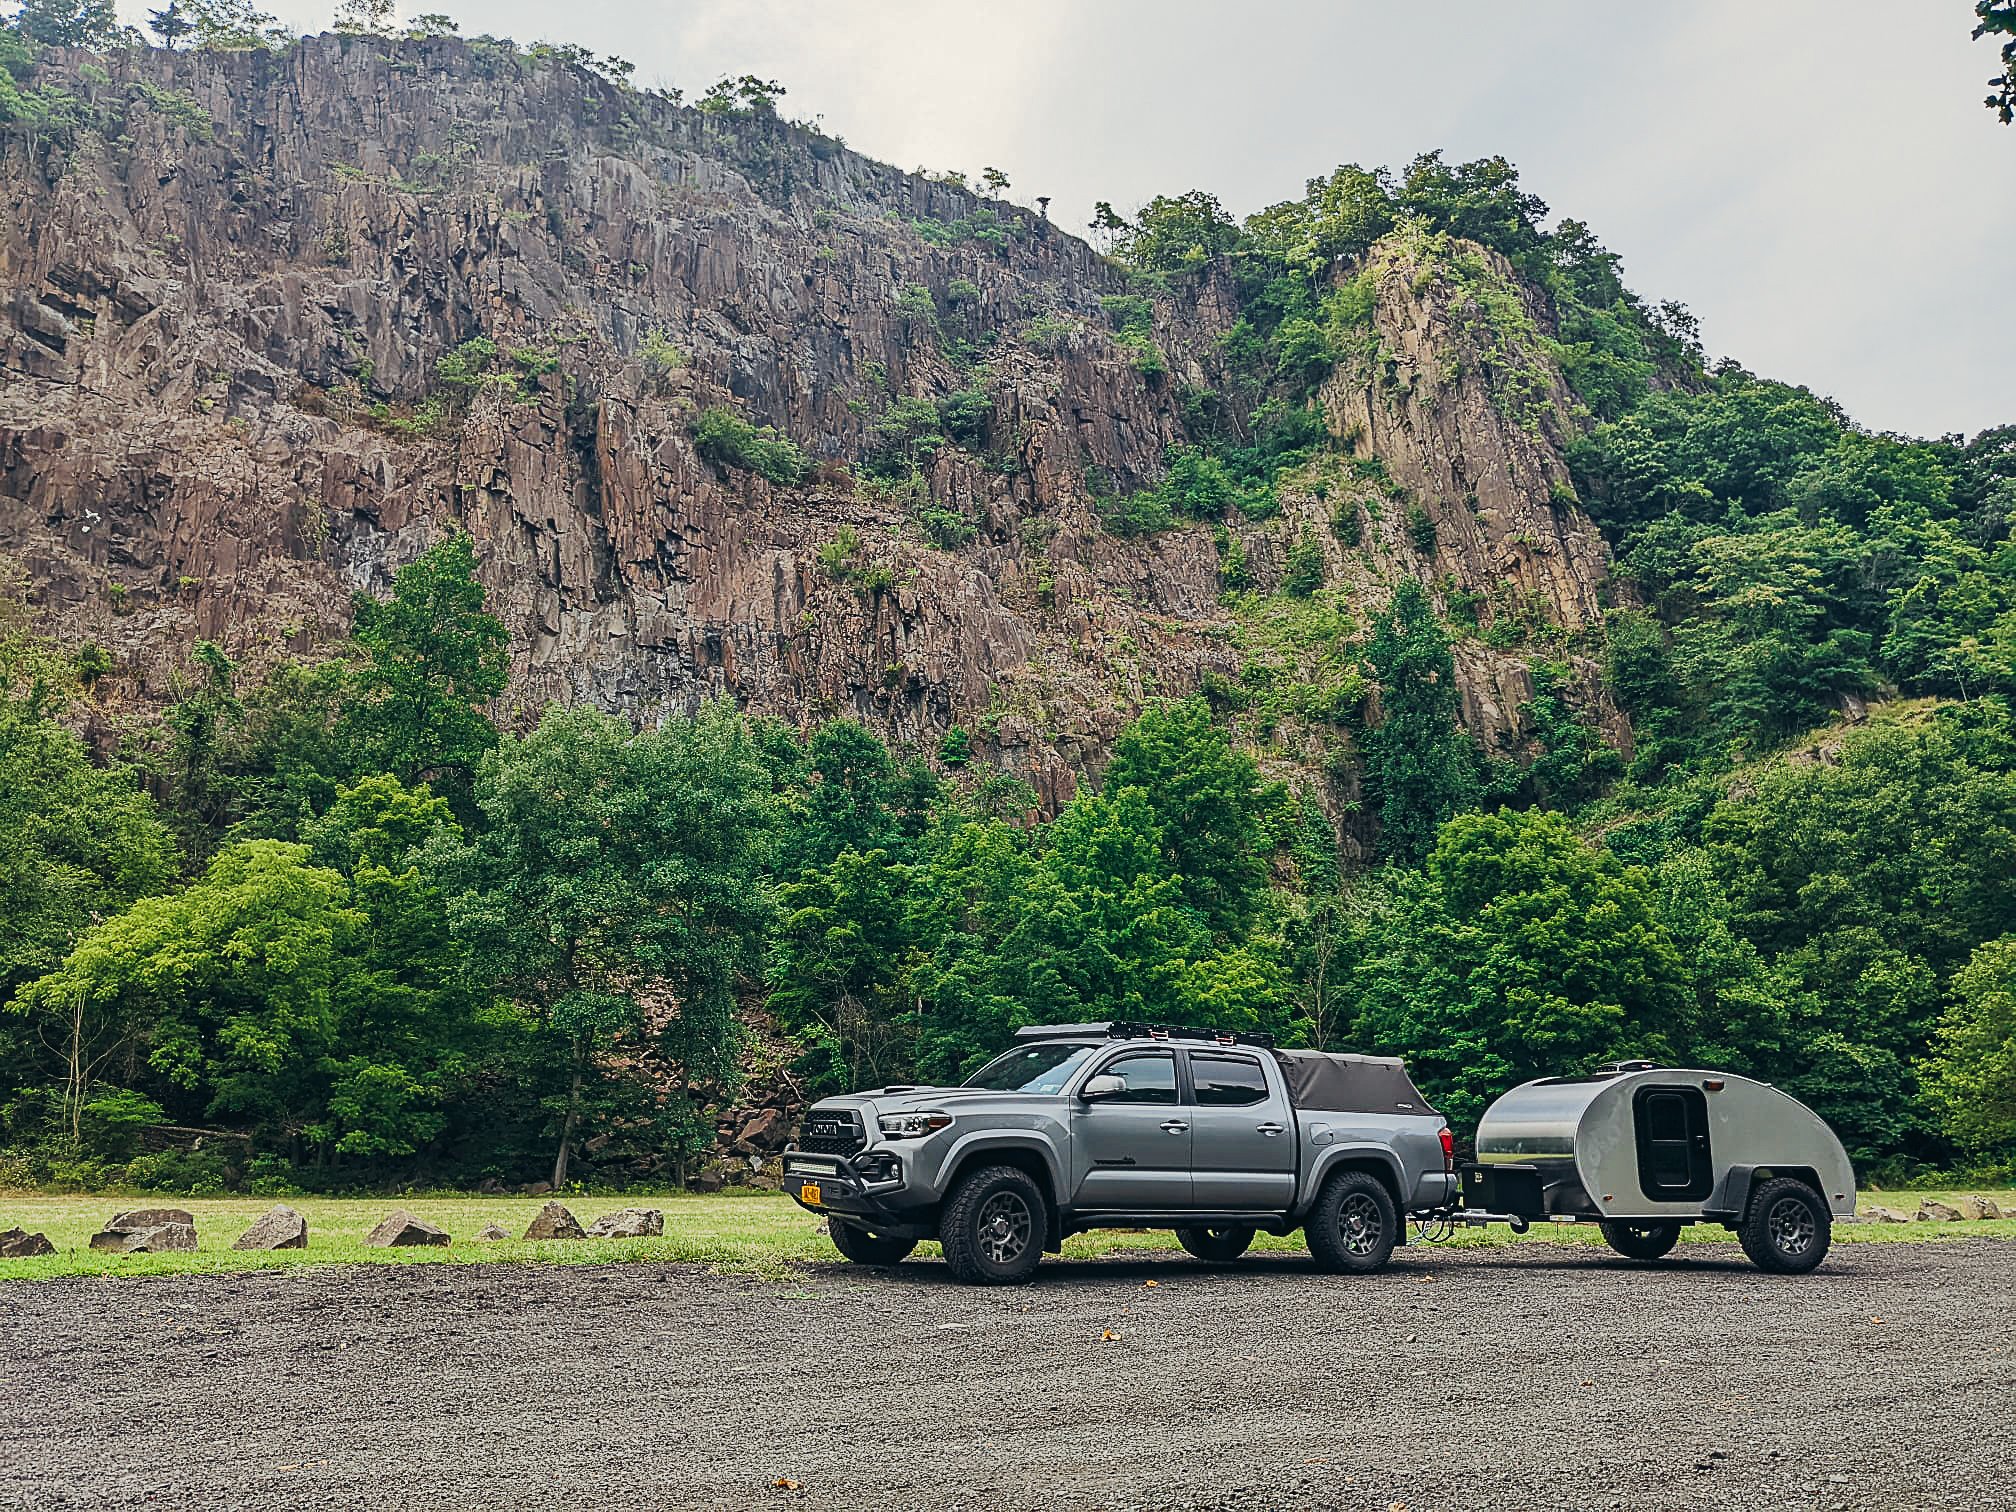
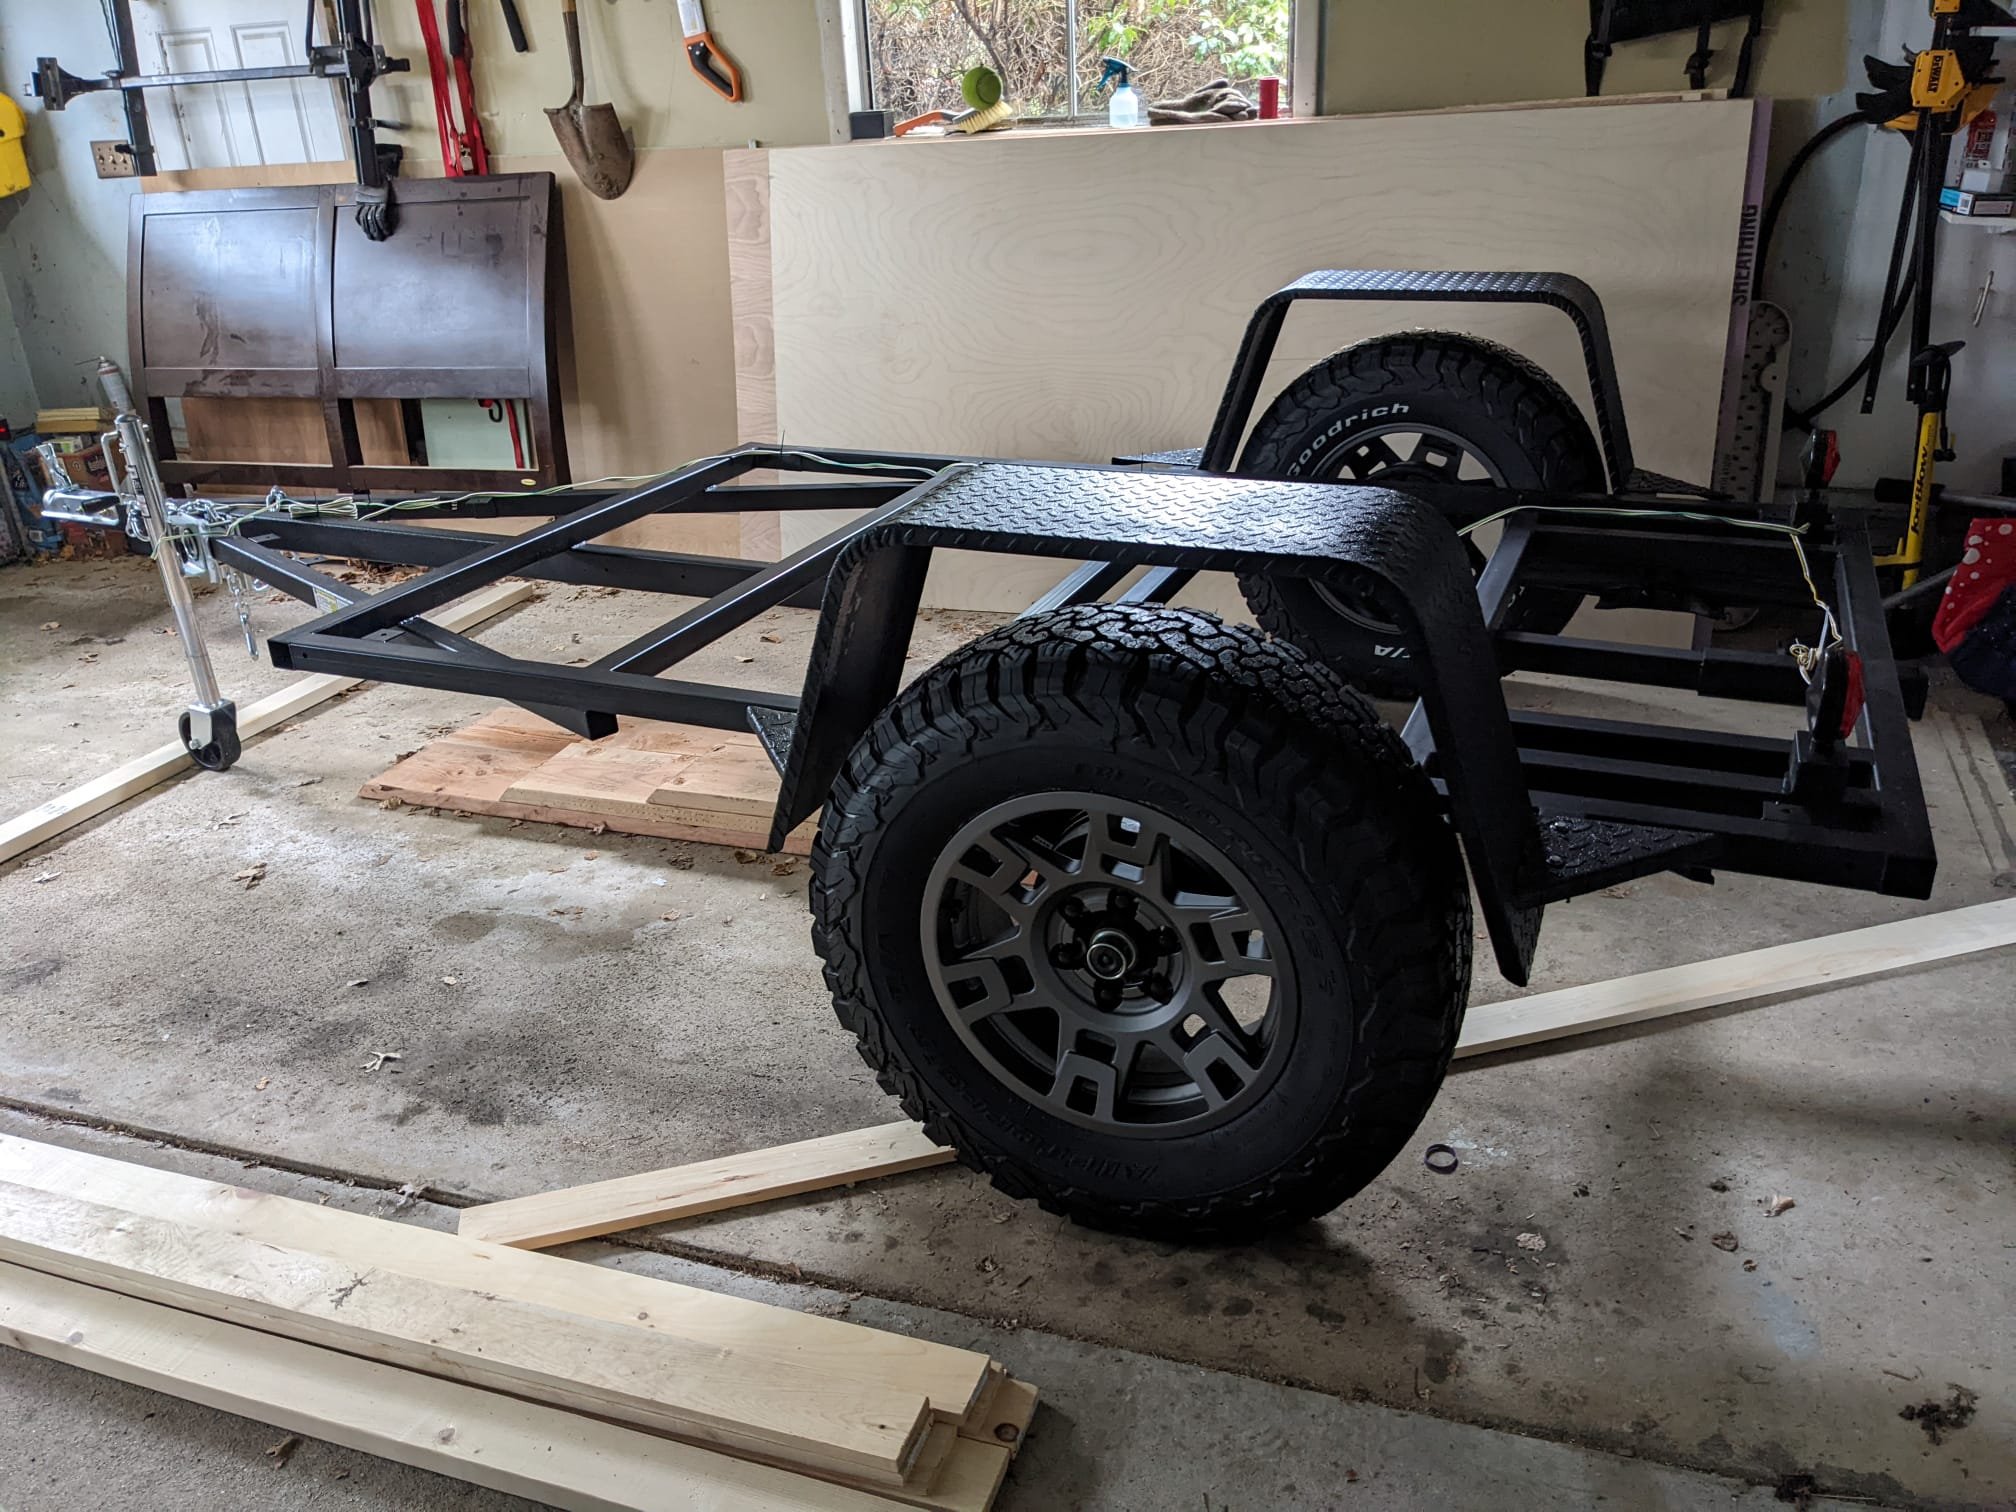
Dave completed his build in Nyack, NY using our DIY Vaga plans on top of a custom trailer frame with wheels to match his truck. Here’s some insight on his build!
What made you want to build a tiny camper?
I have always loved camping. For years I have traveled and camped on a BMW motorcycle. While fun and exhilarating, the risk and limitations of motorcycle camping led me to search for an alternative. The teardrop is a perfect way to experience nature. It’s basically a rolling queen bed with a galley that can go anywhere my truck can go. I can camp in comfort and style and unlike the motorcycle, I can bring my family with me. I have always liked building things. I get great satisfaction from creating something from nothing. Building a teardrop connects me to my little mobile house on wheels in a way that buying one never could. I wanted a challenge, and I wanted the satisfaction of knowing I built it myself. Not from a kit, but from scratch. I know every screw, every nail, every imperfection, and every little thing that went into creating it.
What was your experience level with the skills required to build a camper (wood working, electrical, metal work, etc.) when you started?
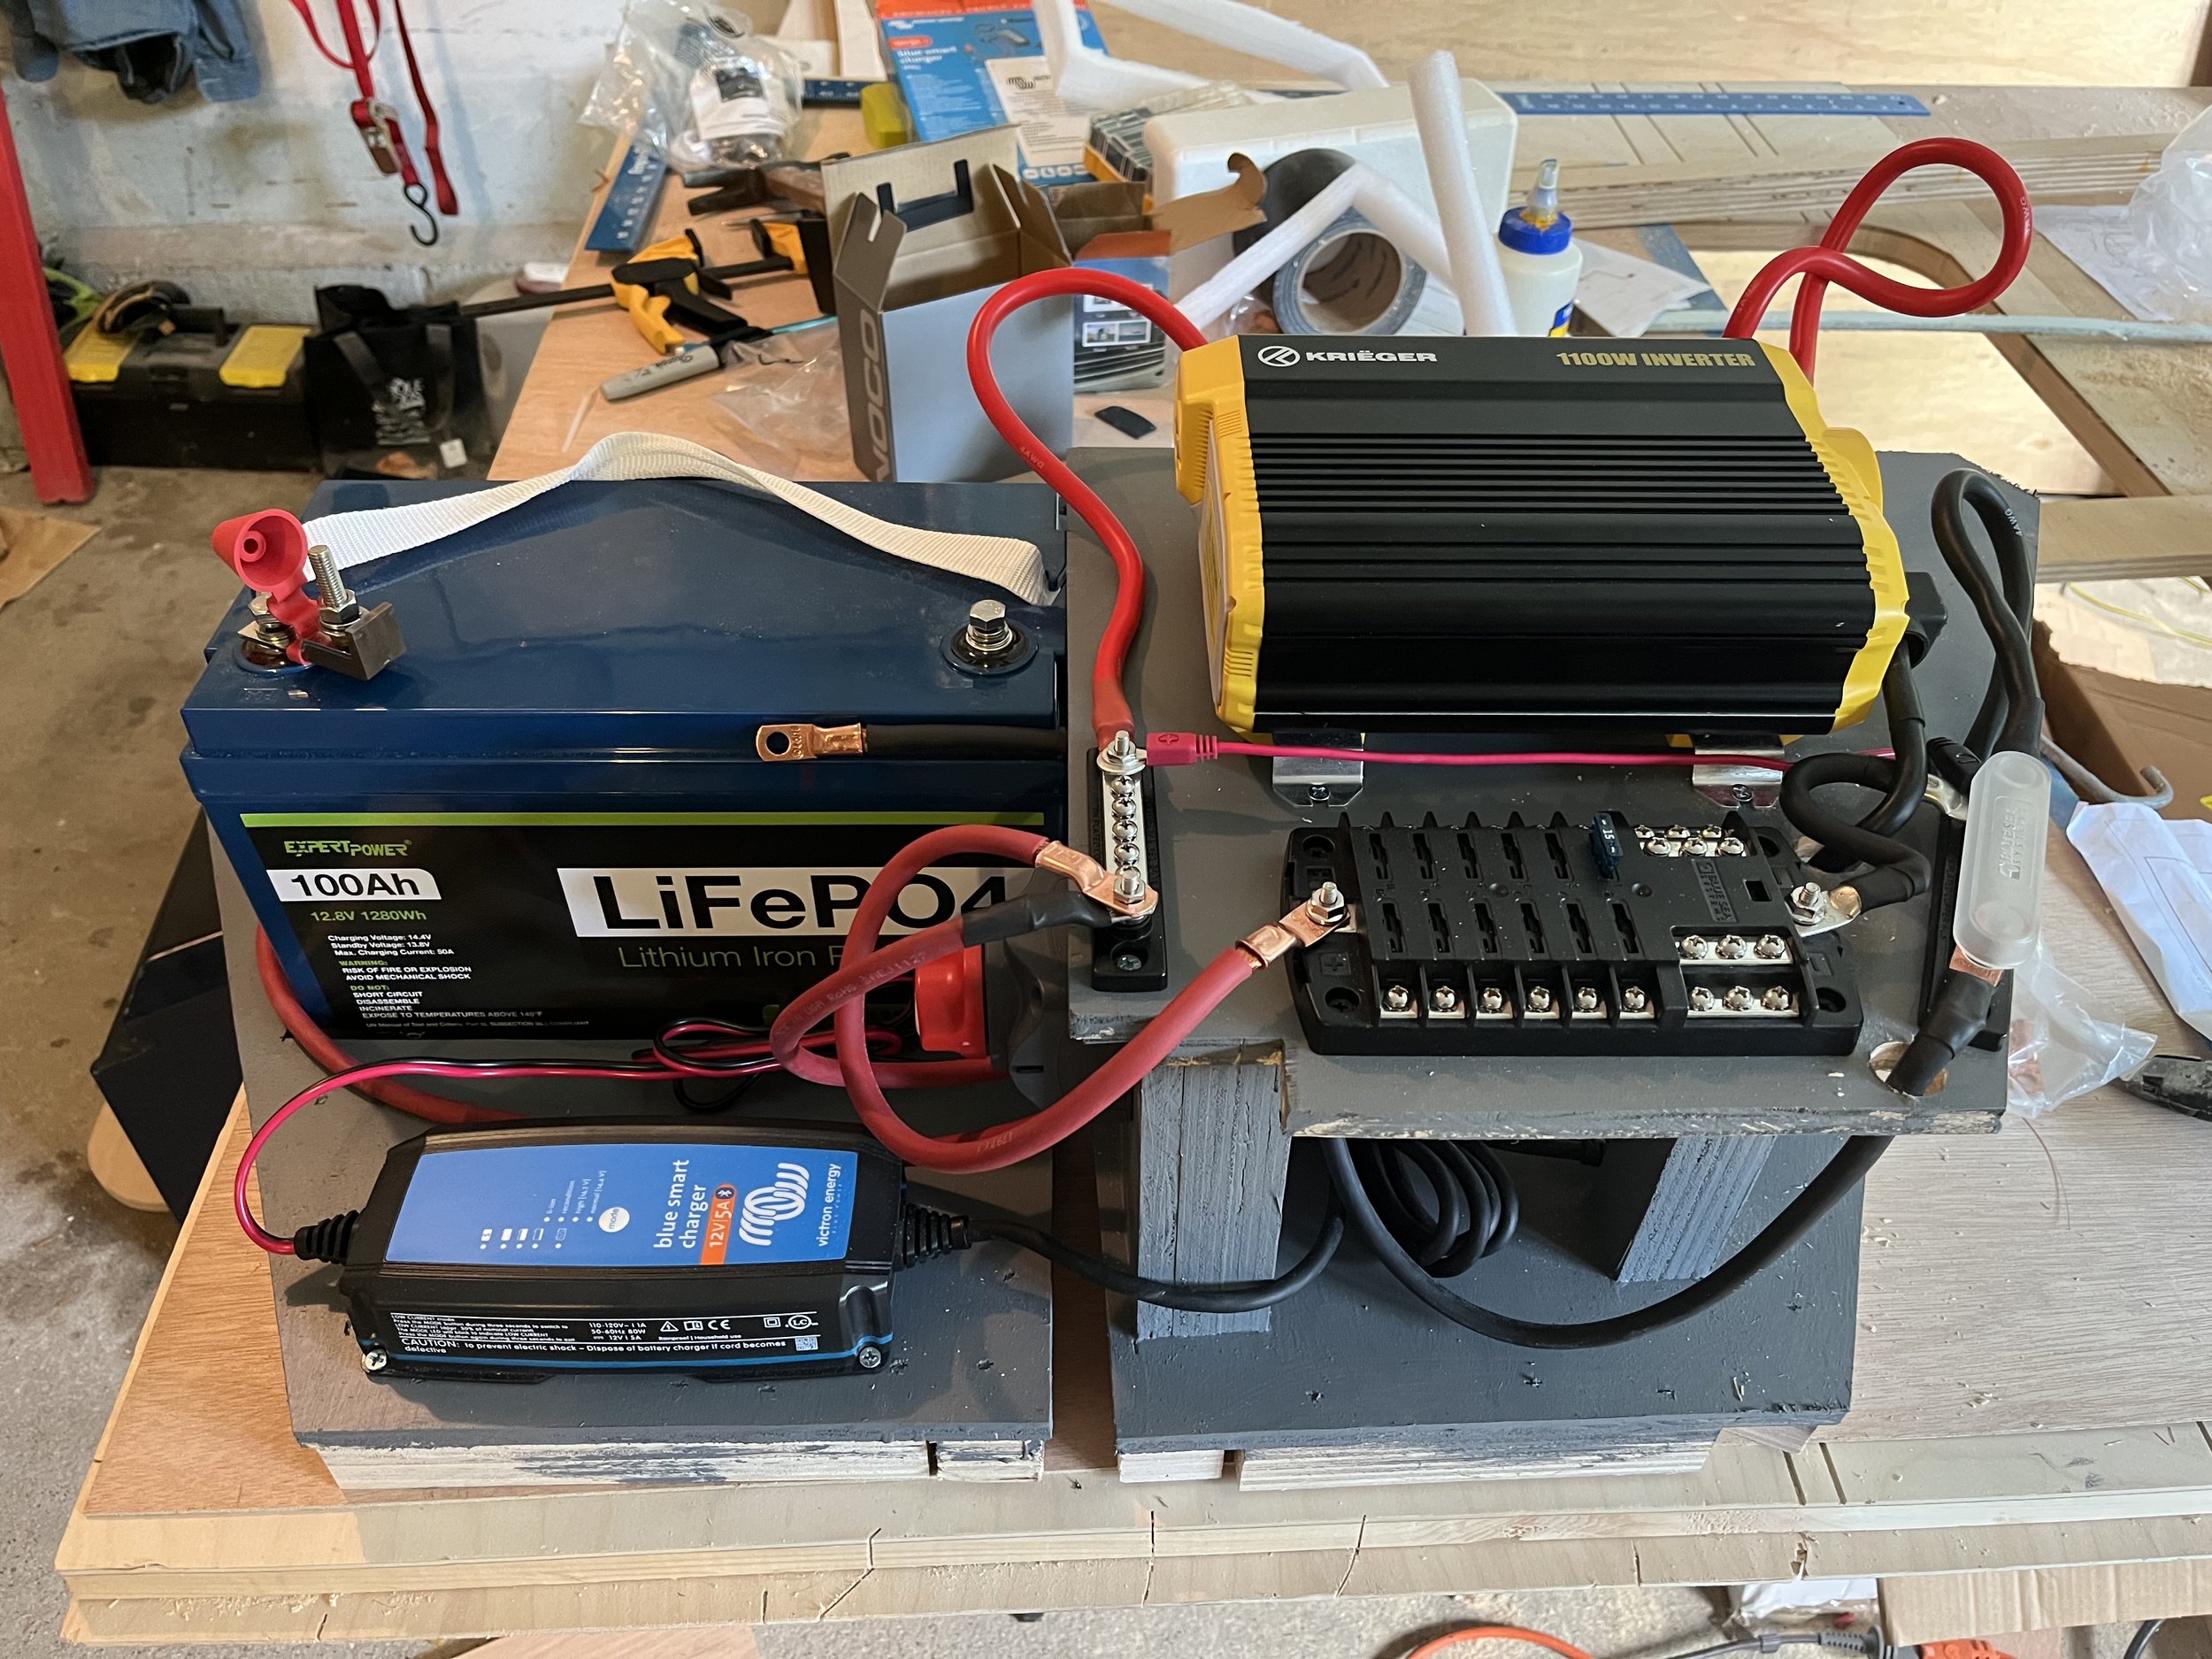
I worked for various builders over the years to support my music habit. That gave me the chance to develop my woodworking skills. I also have a mechanically oriented mind. I enjoy the engineering aspect of building and woodworking. Now, I mostly just work on my own houses so acquiring the skills for home renovations and maintenance is important. Electrical work still baffles me.
What was the first step in your build?
The only part of the build that I didn’t do myself was the custom rolling chassis. Once I got that, I started on the floor. I made the floor in reverse order to the plans. I started with the 48”x 59” pieces and built the frame on top of those. Using a 3/4/5 right triangle, I checked the square of the deck. Once I was sure it was square, I used Kregg screws to assemble the frame and mount the top floor surface.
What was your favorite part of the build?
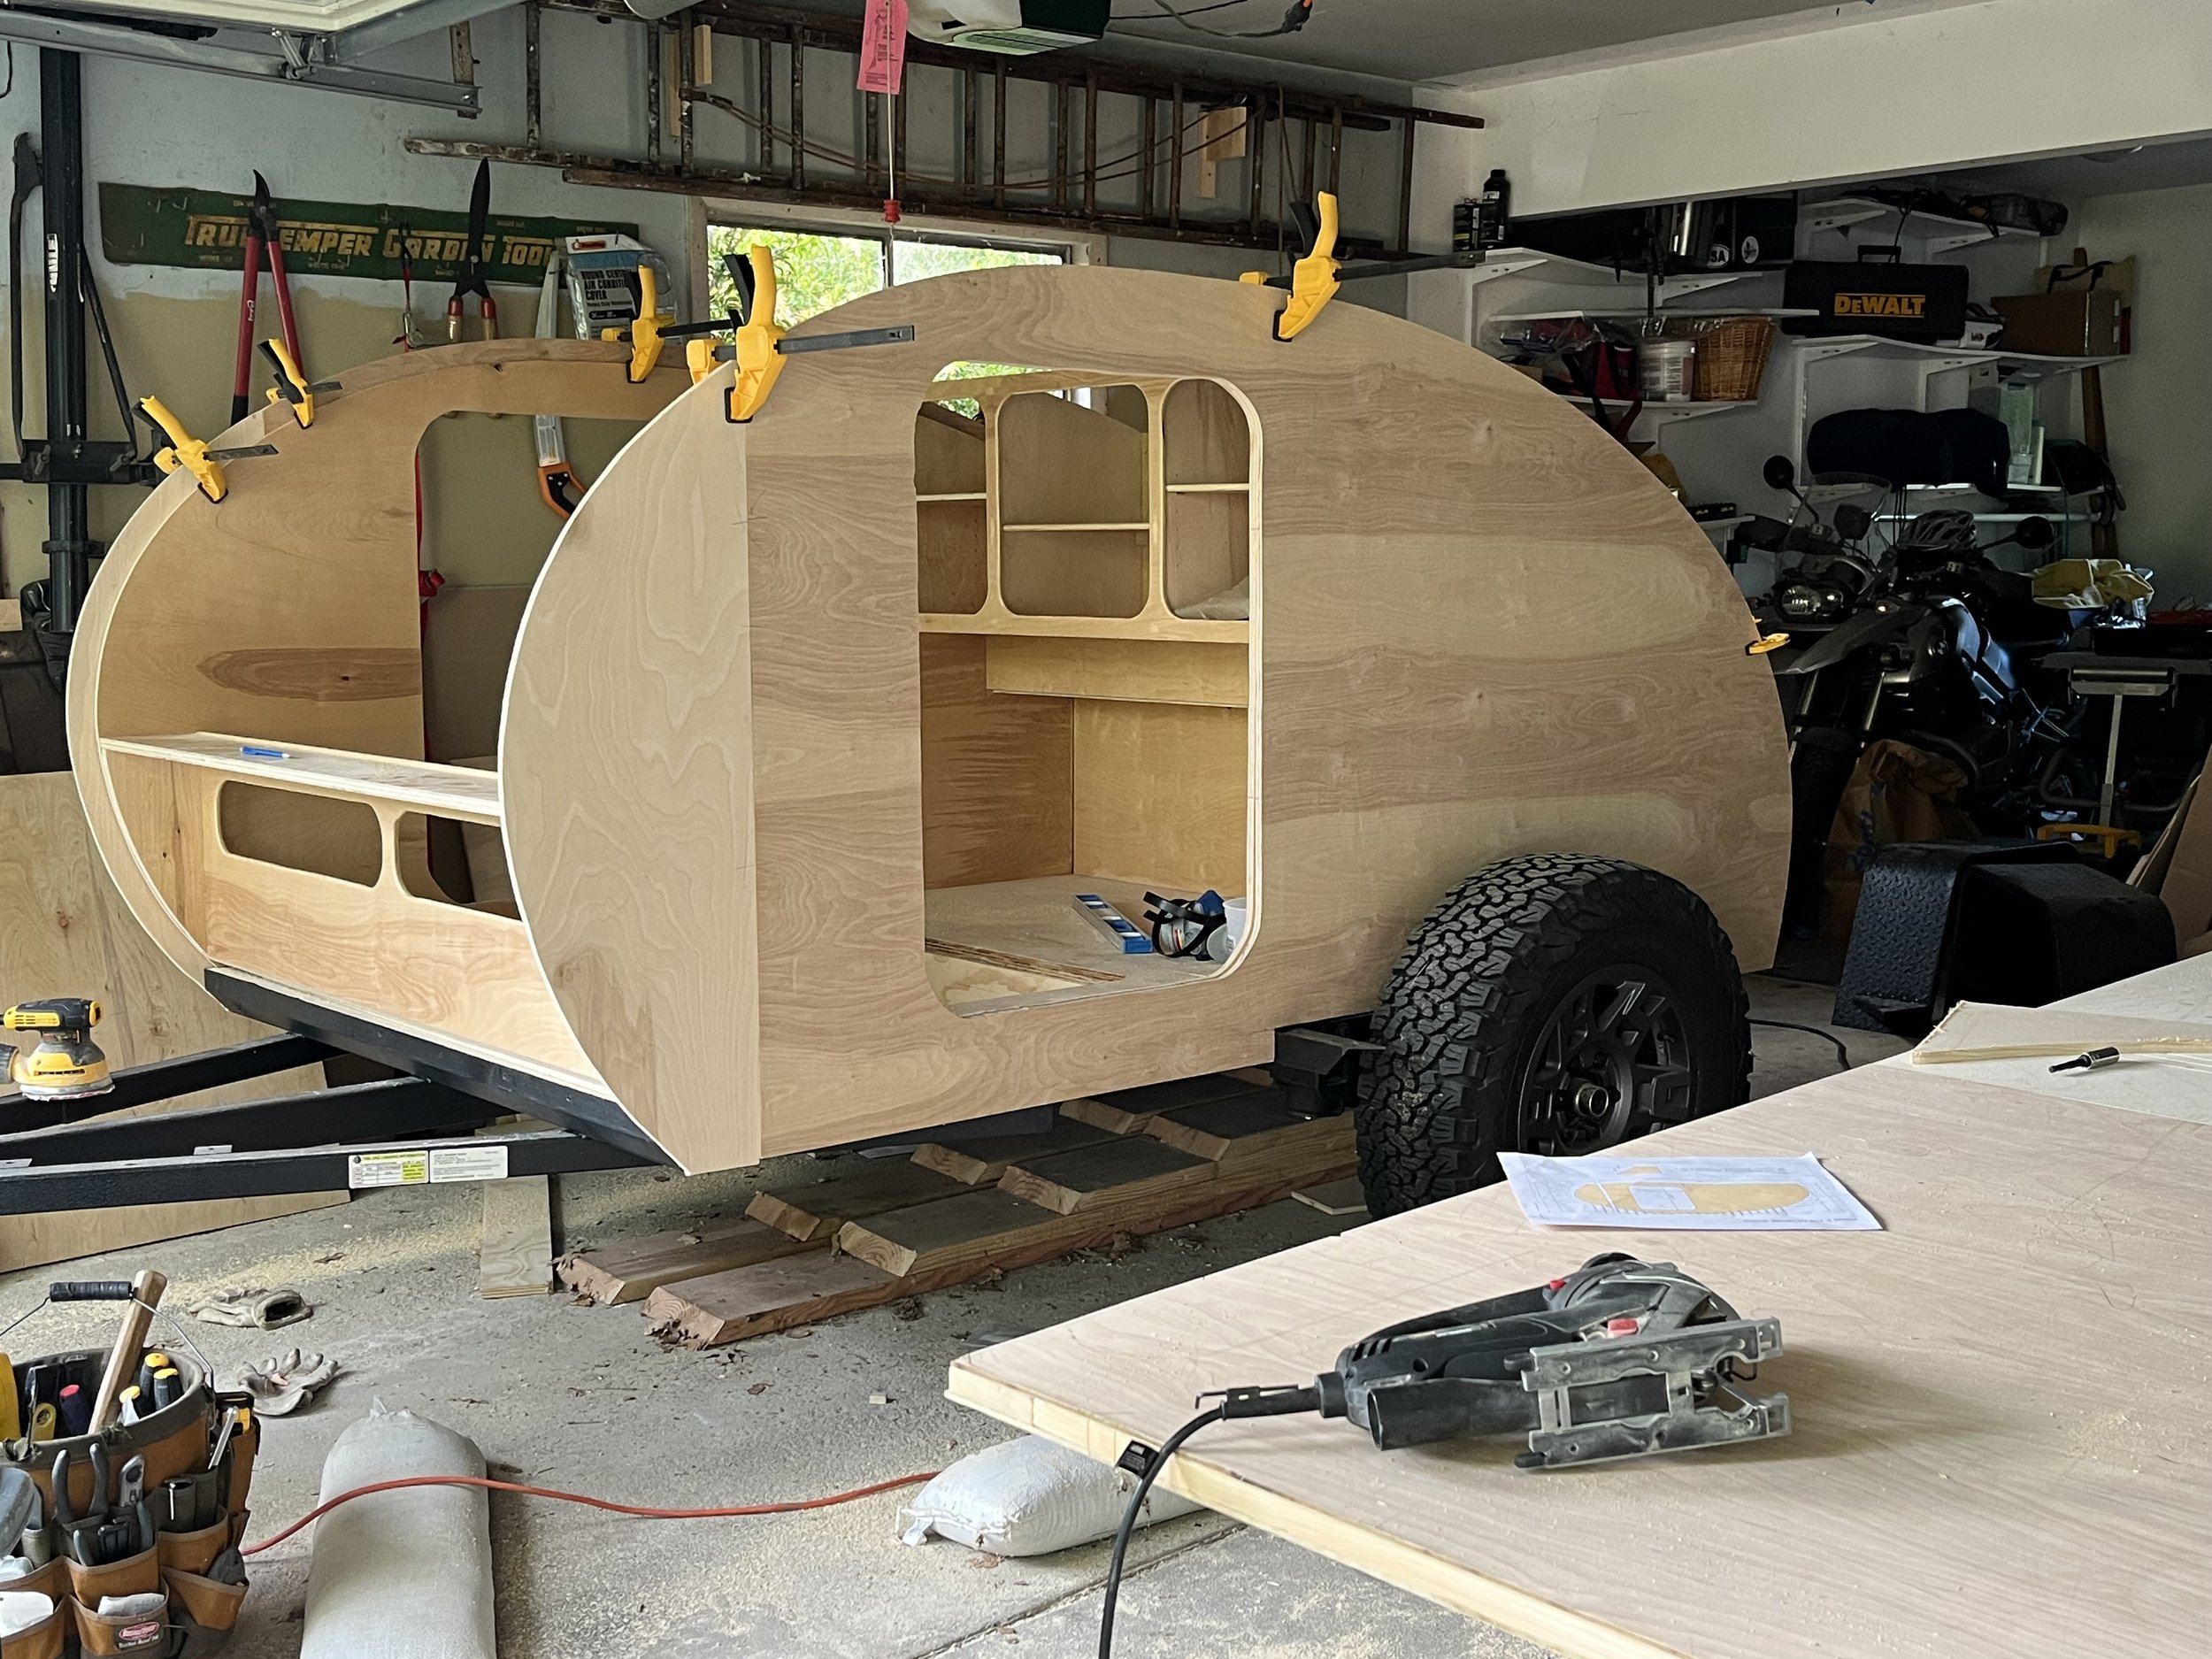
I really enjoyed finishing the galley. We will spend a significant amount of time preparing and cooking meals, so making that space special was important. The little details like the retro Formica, lighting, and drawers were fun to build and install. Creating a place to hold our food and supplies was gratifying to complete and admire.
What was the most difficult part of the build?
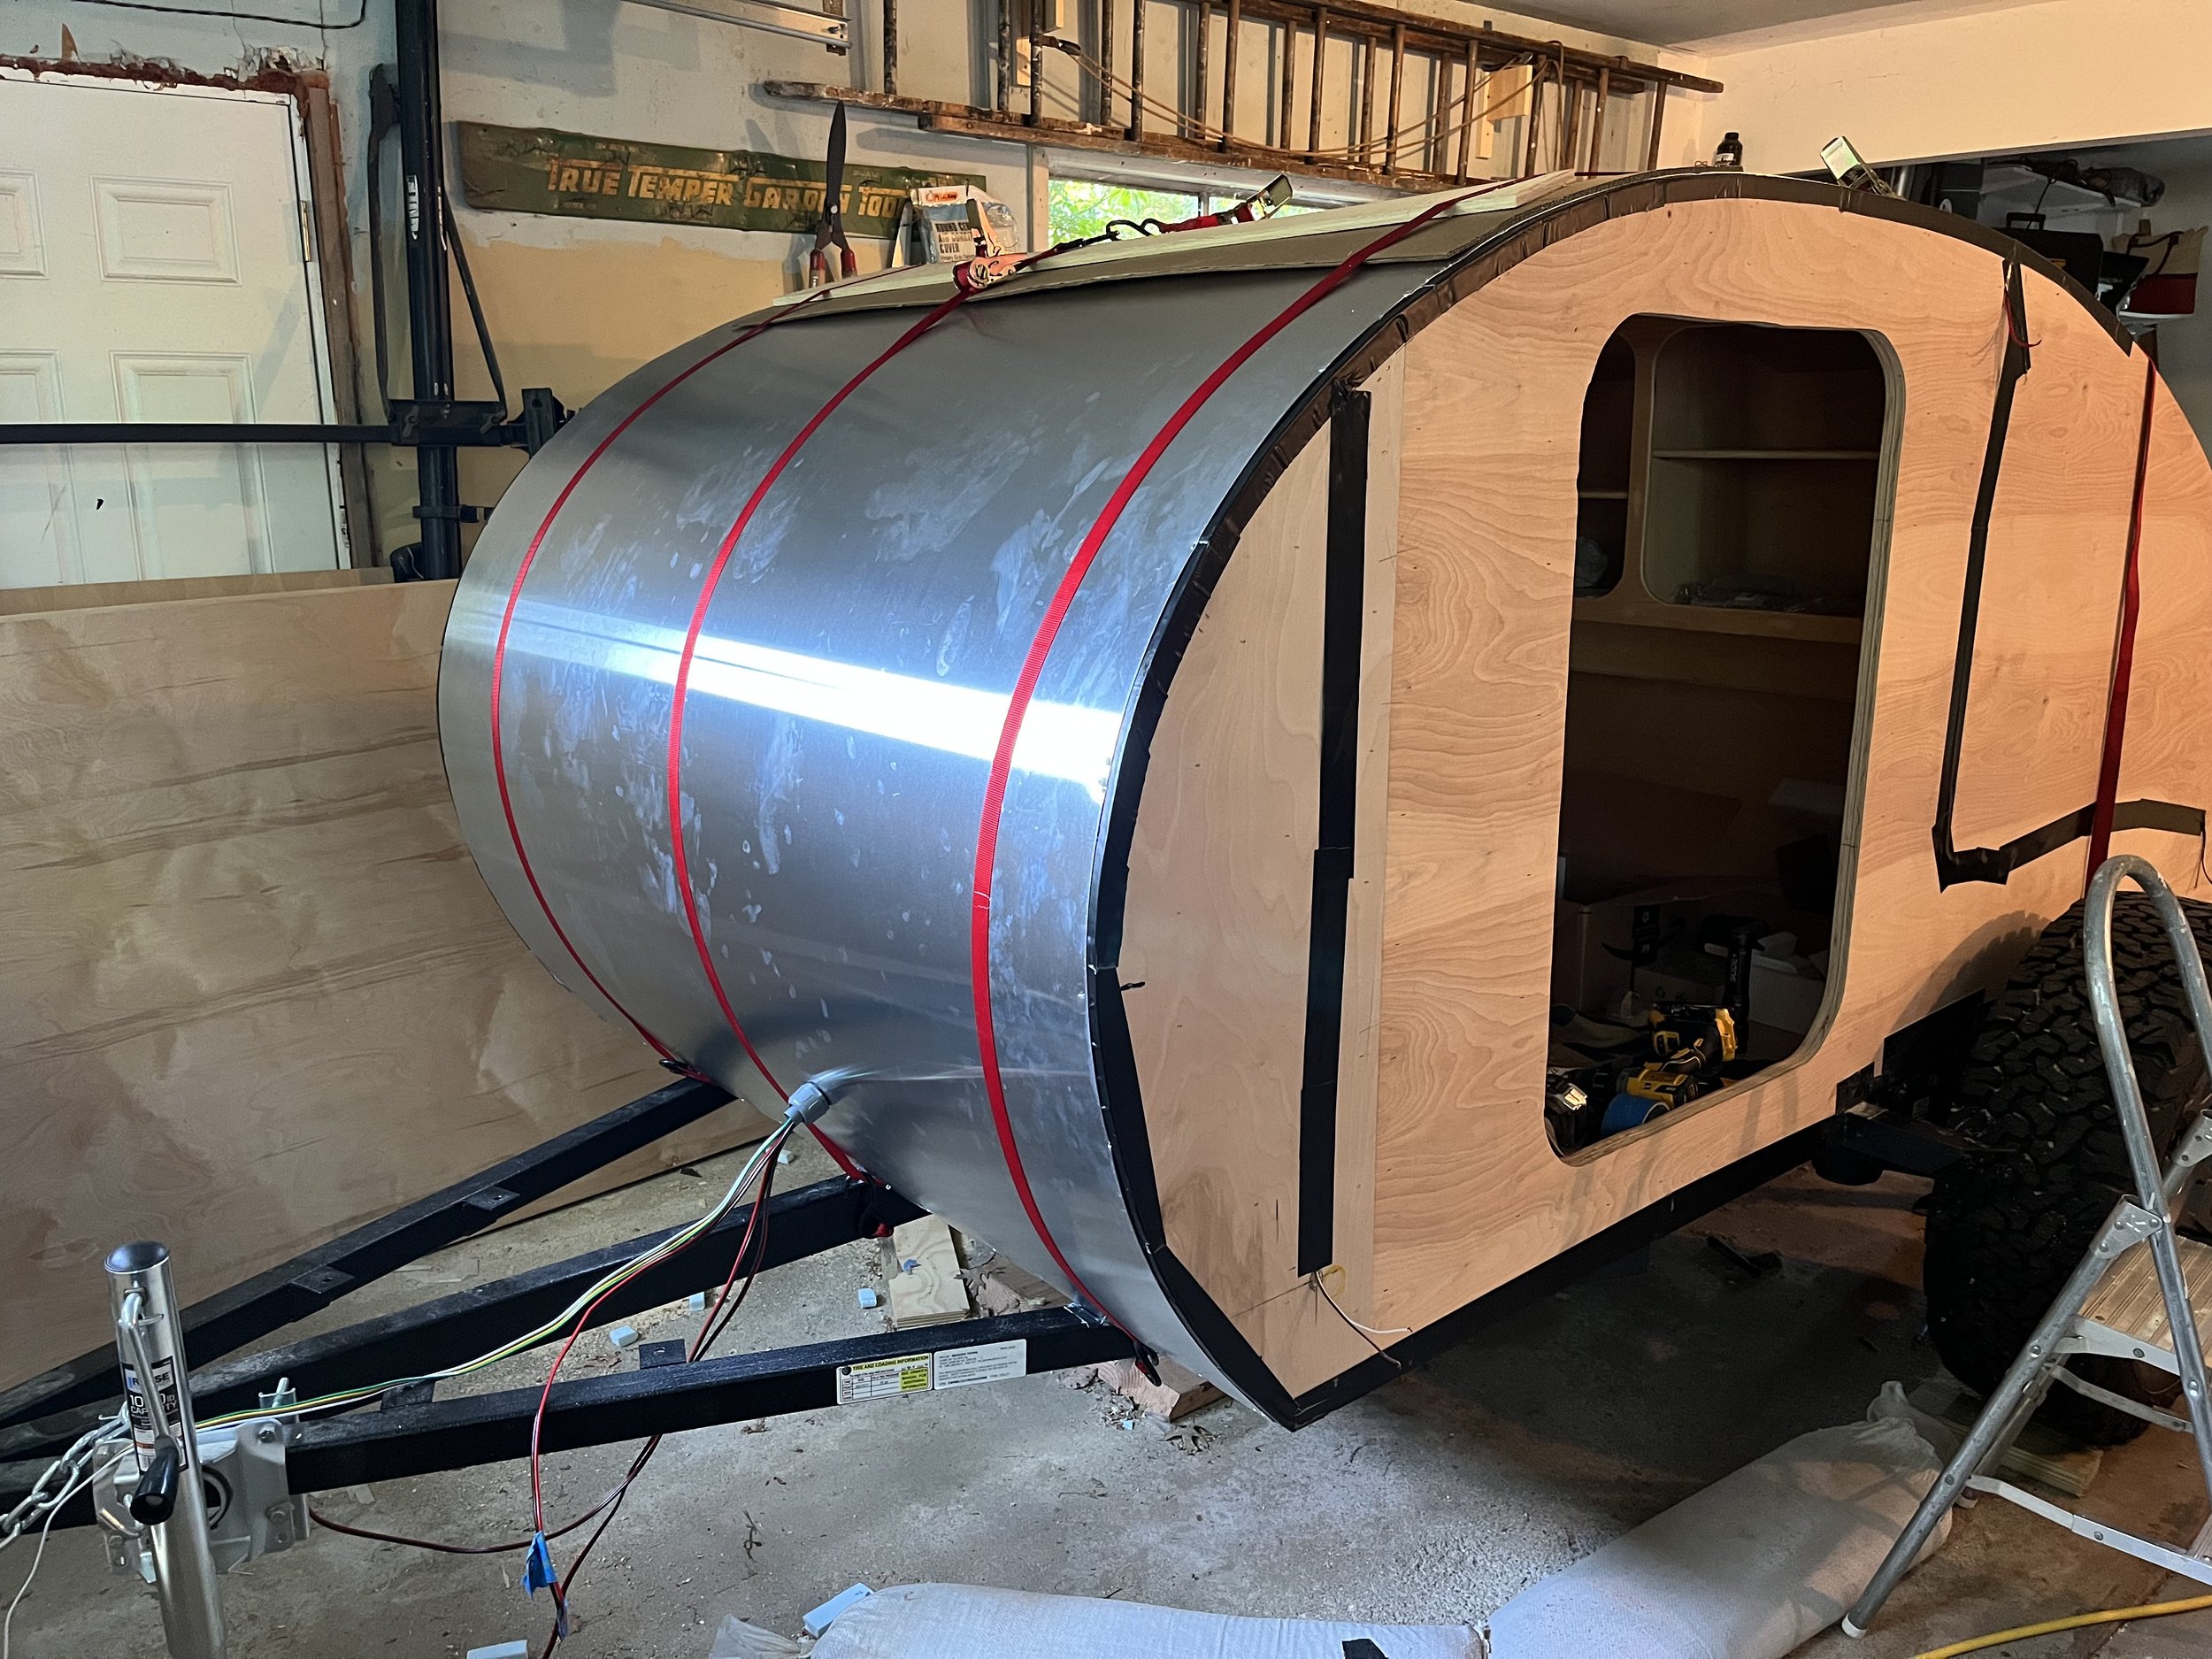
The hardest part of this build was attaching the aluminum. I was lucky to have a few extra sets of hands to hold things in place and double check my work. I always have issues with caulk, or glue or anything that comes from a tube. It gets everywhere and makes a giant mess. Cutting the aluminum proved difficult as well. My router, although variable speed, spun too fast. This caused the soft aluminum to “melt” onto the cutting edge of the bit and clog it up. I found that using blue painters tape cooled it enough to allow me to cut out the stargazer window and the fan holes without too much difficulty. For the doors and the side wall profiles, I opted to use my jig saw with a metal blade. That was slow going but it worked well.


How long did it take you?
I started my build on April 24th and finished on July 27th, so it took me almost exactly 3 months to complete. I worked on it most every day for some amount of time. I made sure to take breaks when I got tired or hungry or frustrated. I also took some vacations. I tried to keep in mind that I should enjoy the process and not be too focused on the final product. Going slow was key. Enjoying every step and taking my time to make it right made the entire build more rewarding. Sending daily progress pictures to my friends and family was great too. Having a cheering section never hurts!
If you're comfortable sharing, what was the total cost of the build?
I have yet to add up all my receipts, but I originally budgeted for around $5,000. I think it came in at around $8,000 but that includes things like the YETI cooler, bed, custom chassis, and wheels, as well as increased costs due to supply chain issues and inflation.
Would you do anything differently?
If I were to do this again, I think I would hold off on ordering all the materials ahead of time. I’d wait until I was about ready to install, figure out what I needed and order just that. I ended up with a lot of surplus electrical, aluminum pieces and things that I never needed.
What has been the best part of owning a tiny camper?
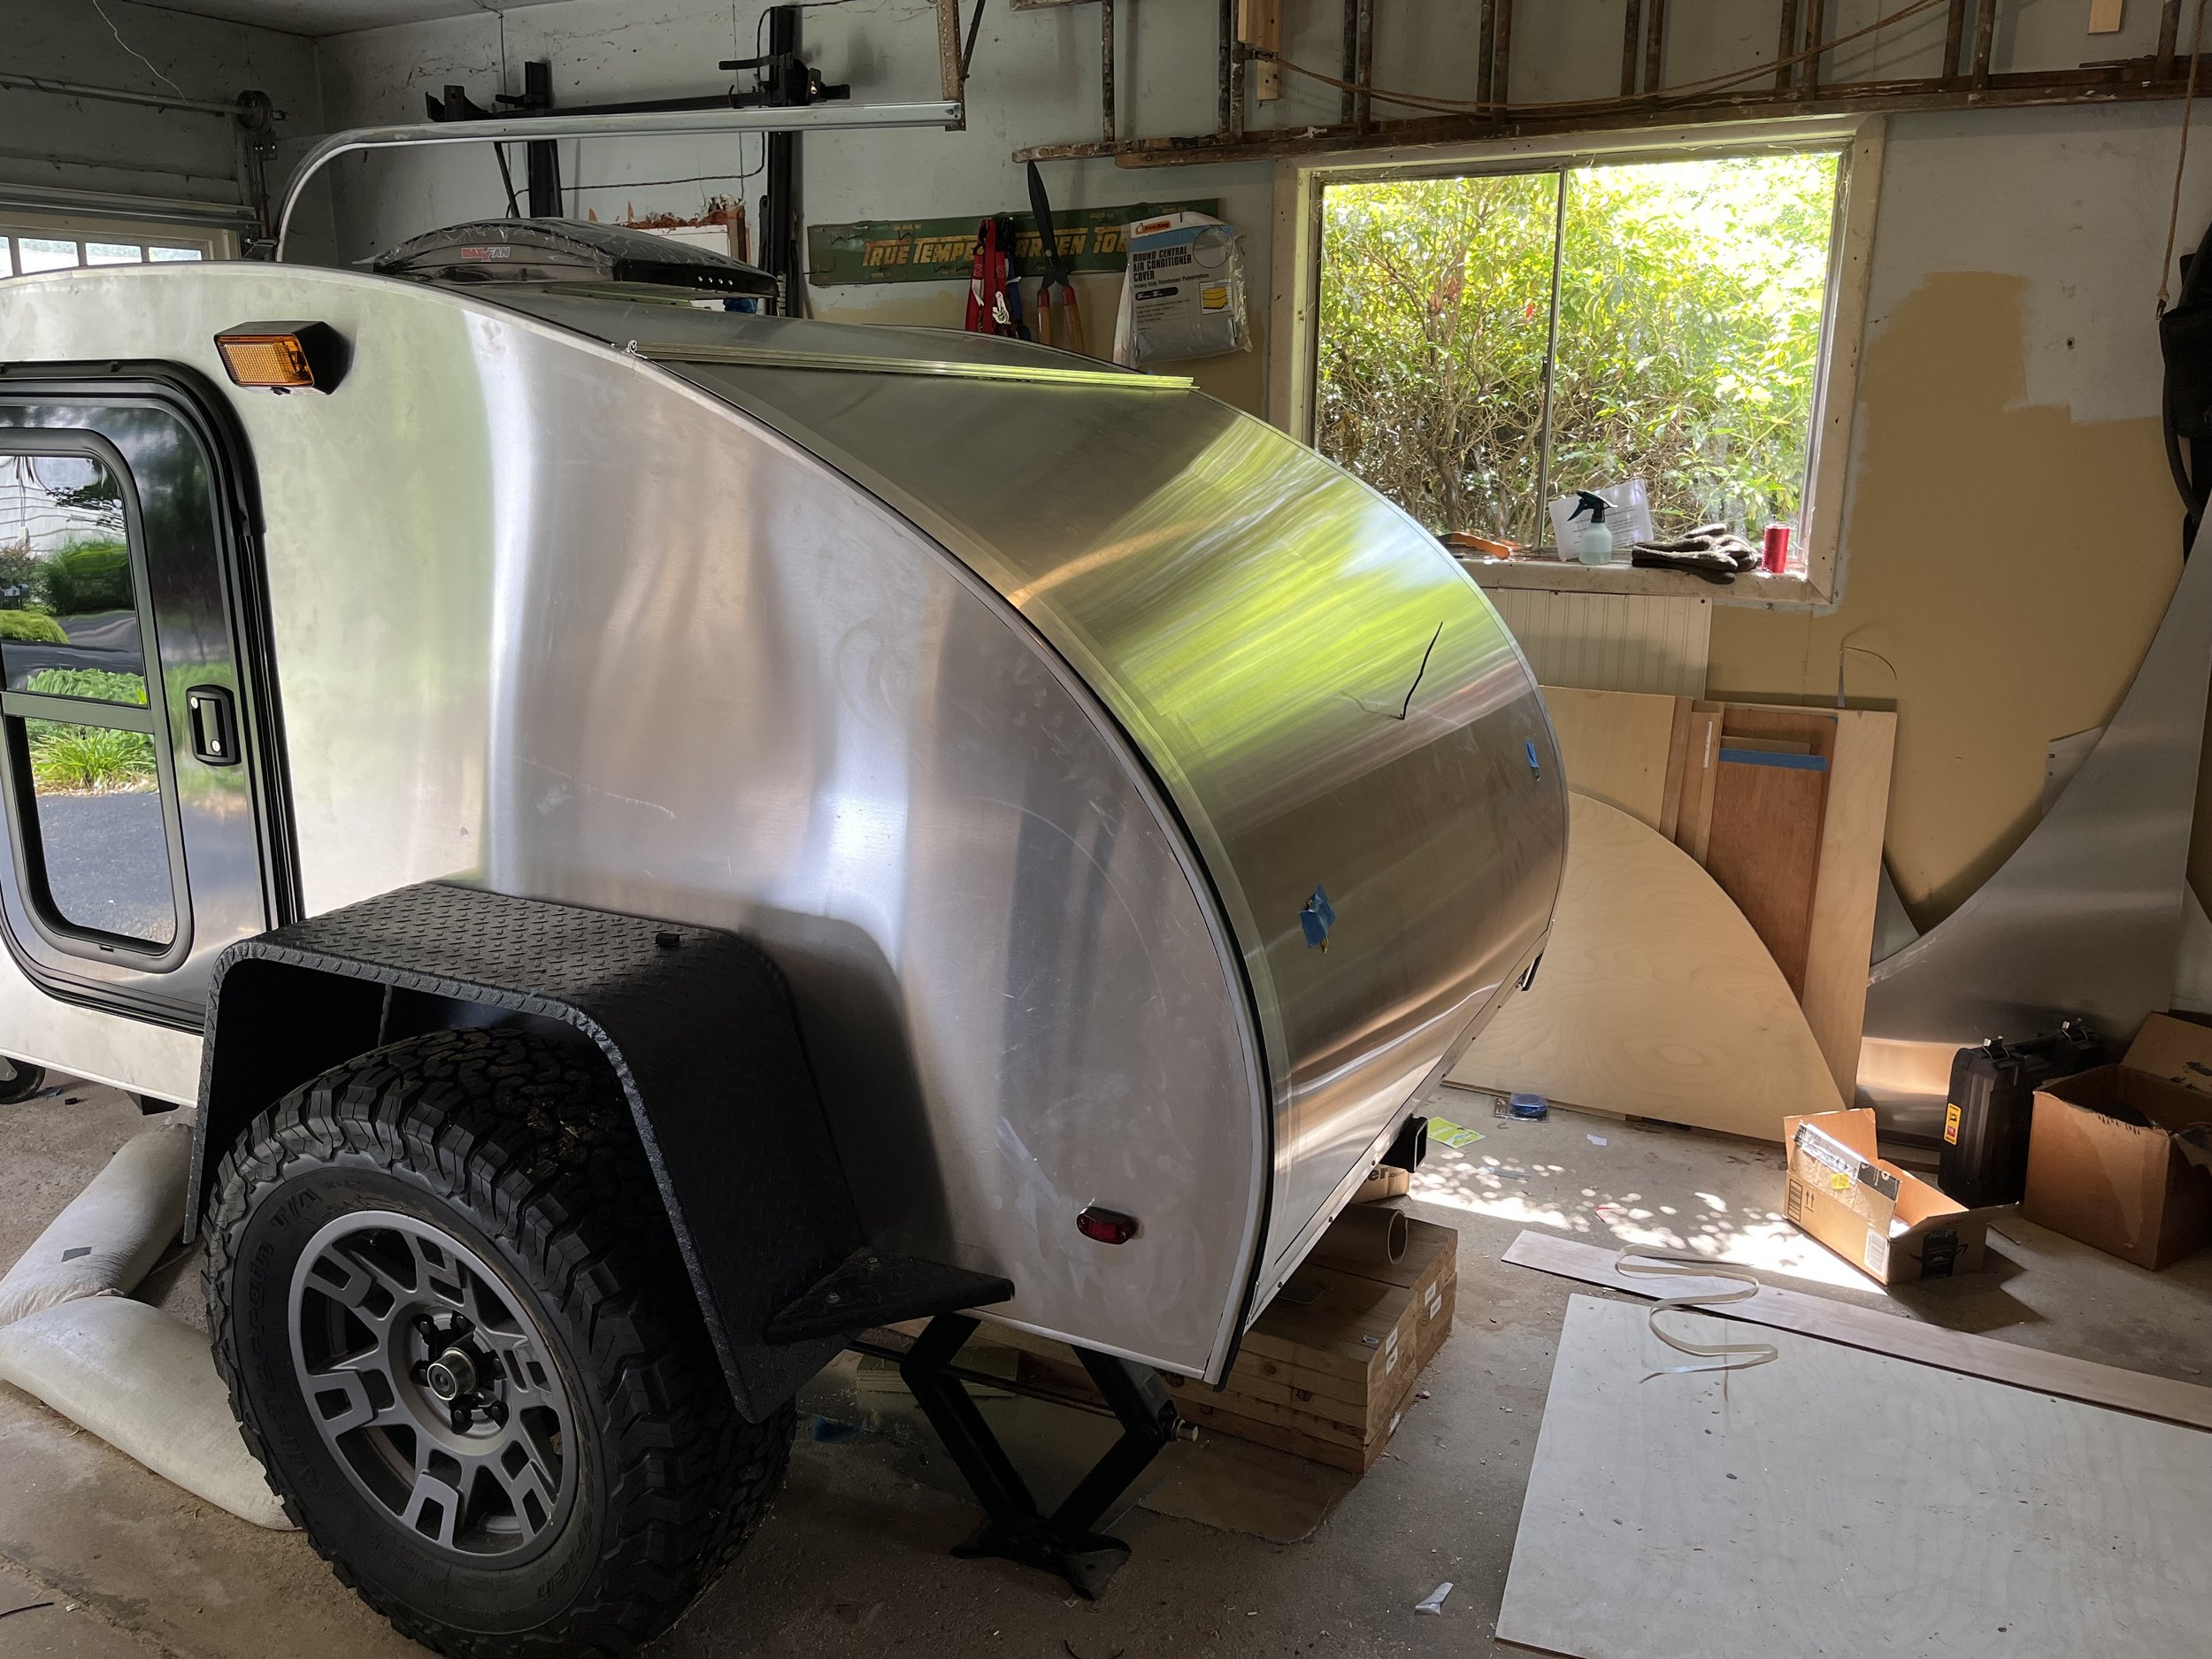
I can’t wait to take this out on the road. My wife and I never had a honeymoon, so my plan was to build this, and explore the country together with our dog next summer. So far it’s just looking beautiful sitting in our driveway – ready for an adventure.
Any tips for someone that wants to build a tiny camper but doesn’t know where to start?
If I were doing this for the first time, and didn’t know where to begin, I’d start by purchasing a good set of plans like the ones I used as well as the tools required to complete the project. Having the right tool for the job makes all the difference! One could consider comprehensive plans part of their took kit.
How did using Wander Tears DIY plans and having the resources provided affect your build process and time?
The plans are very well thought out and easy to understand and follow. I also opted to not use some of the electrical items that were listed. Perhaps an optional list of materials would be helpful.


“Travel is an investment in yourself.”
Looking to build a DIY Teardrop Trailer of your own? Check out our detailed DIY plans to get started now and adventuring sooner!